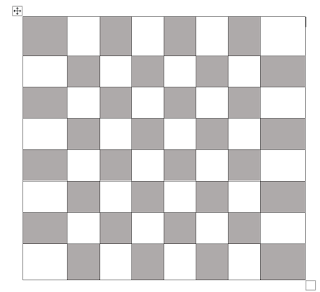
I have been wanting to do something with fabric weaving for ages, and ages.... time you know, it flies away.
Well now my grandchilden are getting bigger I need to have a stash of Granny Game Bags to get out and play with them.
When I was a kid my Big Nana Leichardt would spend hours with us playing cards, football/soccer as long as you were not rough and teaching me to crotchet and cross stitch, my other Grandmathers Toongabbie and Maryong also fed my love of crafts and cooking.
I reaslise what a rich foundation laid by my Grandmothers and Great-Grandmother early in my life and I am so grateful for their time and sharing.
I am a Granny now and it is so important to me to follow on in their footsteps and I have spent this year of waiting fruitfully stitching.
I made these at home, I am most intereted in stitching by hand, not machine.... and they are a bit 'rustic'.
When I took them to the workshop to ask Bulbir to put binding on them, he and Madhu Madam were thrilled with the idea and recoginzied the game Ludo, checkers was not known to them.....
and then
the funny bit- they looked at my cutting and I could see them searching around in their mind about how to say it was not very straight without sounding rude to me. Haha!! 😄
So whilst I am sharing the basic idea with you, I do suggest you work in a way that is soothing to you.
For me that is hack it out and sit and stitch it on my lap.
You might like to use a ruler, and one of those scary sharp cutting wheels for a laser esge.
I wove the strips together and then used an open blanket stitch to applique them to the backing.
You could use a wide, tight zigzac stitch on your machine to stitch them down.
To Cut
3. This is the magic part


No comments:
Post a Comment